MEAM.Design - SolidWorks - Animations/Overview
To get started, click on the Animation1 tab at the bottom of the SolidWorks window, which will bring up the timeline viewer shown below. Note - if you want to create a second (or further) animation, right-click on the tab and select New.
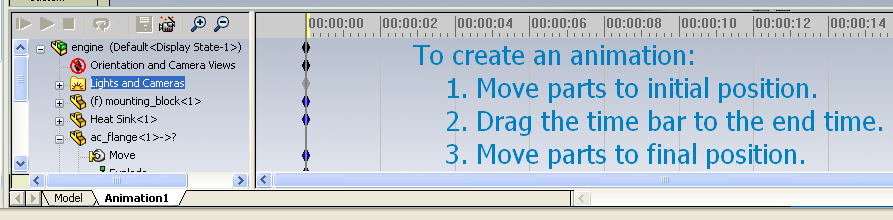
On the left, you'll see a copy of the model tree, and on the right you've got a timeline. The time bar is currently set at 0:00, and you'll see a number of diamonds called keys corresponding to certain elements in your part/assembly.
Setting the initial configuration
Note - changes to the orientation/zoom will not be manifest in the animation - if you want to adjust the view, see here.
To set the initial position of your parts, you can click and drag them around on the screen.
Setting other configuration points
When you hover over the time bar, it should turn red and the cursor will turn into a pair of arrows. You can now click and drag the time bar along your animation, then modify the position/appearance of your model. Once you make changes, you'll see keys appear on the appropriate part(s) in the animation model tree.
Any changes you make to your parts or assembly will be manifest at the location of the time bar, regardless of what key(s) you may have selected.
If you want to change the time of a key, you can drag it along it's timeline.
SolidWorks seems to opt for the minimum distance solution between two key points, which means that you may not get exactly what you want unless you add in intermediate keys to force a certain motion.
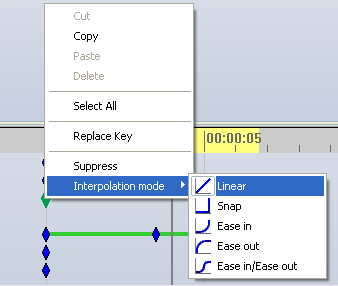
To smooth transitions, you can right click on a key, move to Interpolation Mode, and select the option corresponding to what you'd like SolidWorks to do at that point.
Adjusting Appearance
Beyond moving parts around, you can change the appearance of various elements at different times. First, place the time bar where you want to set the appearance, right-click on the part or feature in the animation model tree, then select Appearance.