MEAM.Design - MEAM 101 - TAG
Supplies
You will receive a 2.5"x4.5" square of 1/4" thick PMMA (Polymethyl Methacrylate, commonly known as Acrylic or Plexiglass, see Wikipedia for more information about this very useful plastic). You will have access to PLA filament for 3D printing.
Geometric Definition
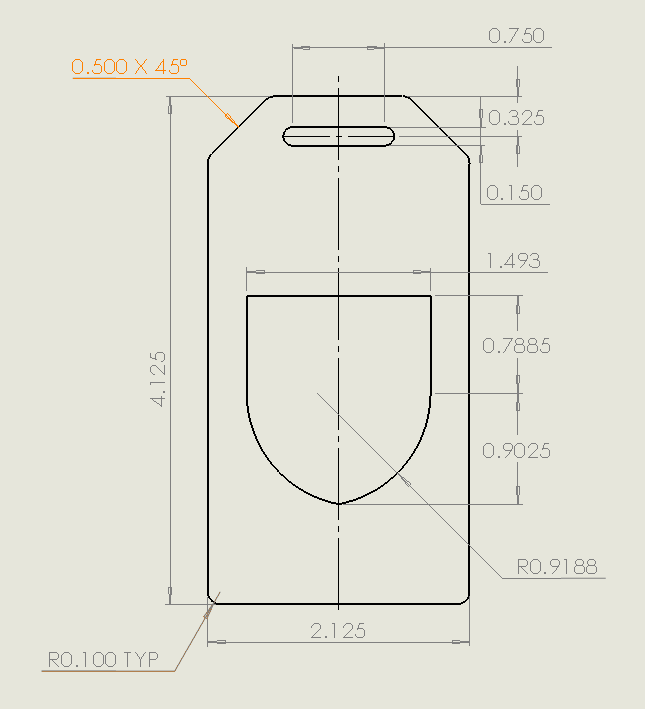
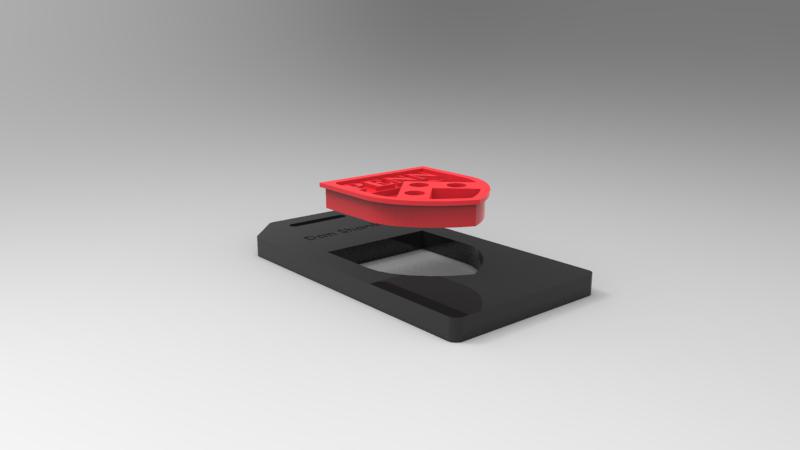
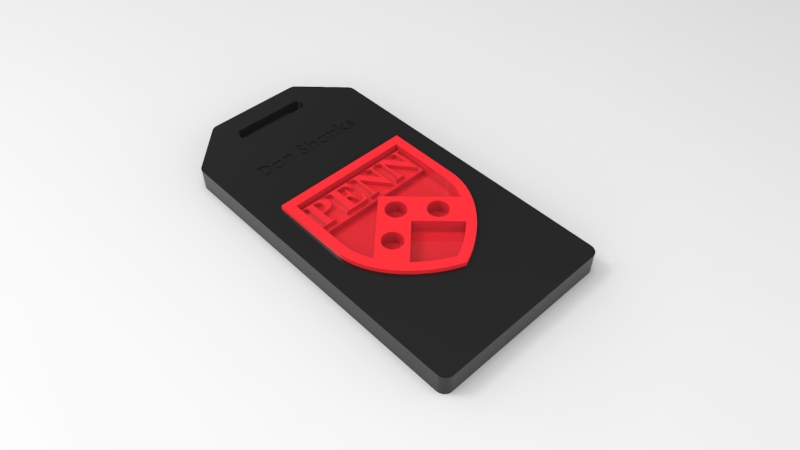
You tag will consist of two parts: one laser cut, one 3D printed. The geometry of the laser-cut portion can be found in the drawing below. Note that this is not fully defined as drawn, as the actual location of the crest and the curvature of the bottom of the crest are adjustable.

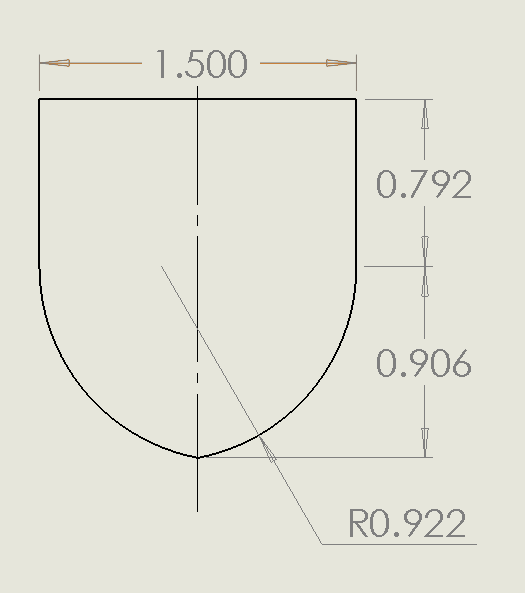
The exterior of the 3D-printed portion should match the drawing shown below:

The difference in size between the cutout and the crest is intended to provide a solid interference fit between the two pieces when assembled. Note that you need to match the curvature between the bottom portion of the crest in both parts! The third dimension of the crest is completely up to you, but it should be no thicker than 1/2" at any point.
Interior Definition
You must etch your name somewhere on the laser-cut portion of your tag. The remainder of the interior definition of both parts is up to you. Be creative!
Using the Equipment
You must complete lab training for the laser cutter and MakerBot to complete this project. More information about training and access can be found here and here.
Once you have completed the videos and quizzes please complete the training by signing up for one of the TA assisted slots in the Rapid Prototyping Lab. The sign up form is here.
Submission
1. Bring your finished TAG to lab section.
2. Submit your SLDPRT files to the project assignment in Canvas.
Example

