Teuvo
This page describes how to use Shell feature.
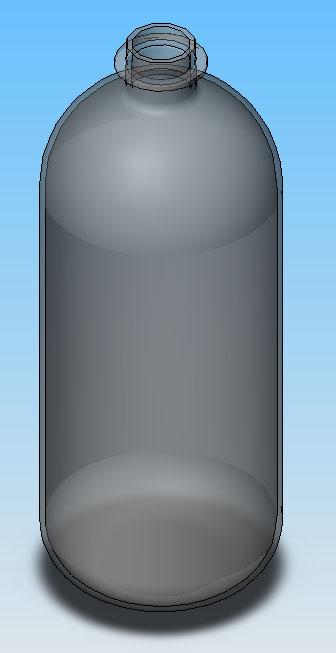
Because Shell feature is a model based feature, you need to have some object to Shell it, soda bottle is used in this example.
This bottle is first drawn by using Revolved Boss/Base feature. The bottle is made transparent by editing Color and Optics settings, which can be found by right clicking your part name on the tree in left column and then clicking Appearance and then Color..., then open subsheet Optical properties and then change Transparency.
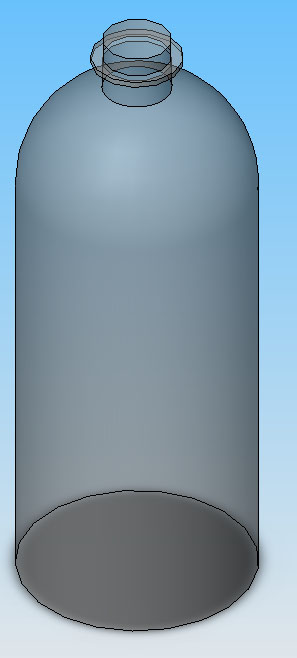
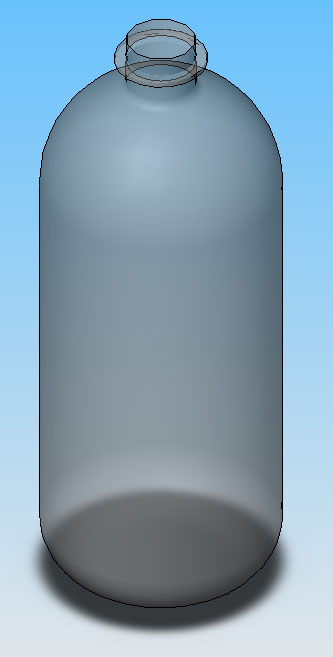
Then few '''Fillets' are done to finish the exterior of the bottle to final shape.
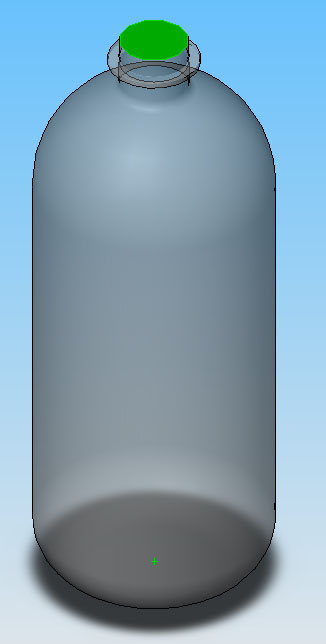
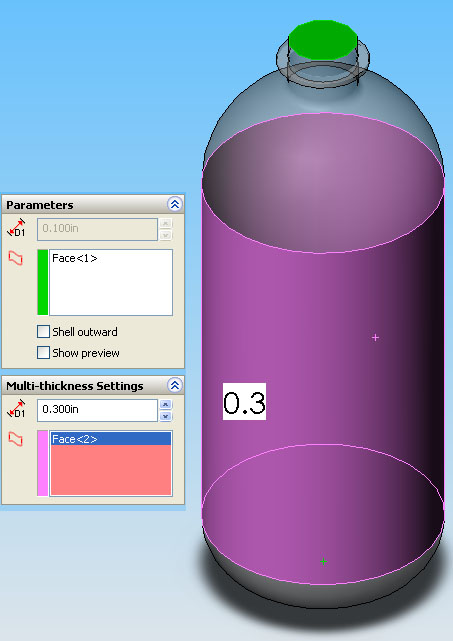
Select Shell from Features and then select a face, what you desire to be open after you've shelled your object. In this case the bottle mouth is chosen to be the shell face.
After you've chosen the shell face, you need to define your Shell. Basically you define the wall thickness. If you don't want your Shell feature to shell some places, you need to set the wall thickness bigger than half of the smallest face-to-face distance on your model.
Now you set the wall thickness from left column.
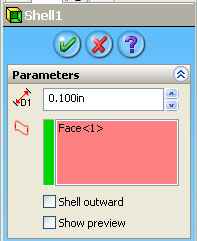
And then finish your Shell!
But, you can do multiple thicknesses if you desire to. This can be done by doing Shell feature, then pick a wall thickness, and then go to Multi-thickness Settings and choose desired wall thickness (other than the initial parameter) and then choose a face, which you want to be with different wall thickness.
Now finish your new Shell and the feature results in multiple thicknesses!
