Chamfers
1. Select Chamfer from the features toolbar. A box will appear to enter parameters:

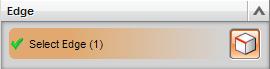
2. Edge: Select the edge or edges to which you want to apply the chamfer. The Edge box will display the number of selected edges.
3. Offsets: Enter the distance/angle you would like to make the chamfer.
Cross Section:
- Symmetric: Cuts an equal distance into each plane (45 degree angle).
- Asymmetric: Allows you to specify the distance cut into each connecting plane.
- Offset and Angle: Allows you to specify the cut into one plane and the angle at which to cut.
Distance: If you know the desired distance from the edge to the start of the cut, simply enter it in the box. You can also choose from these tabs:
- Measure: Allows you to set start and end points of the chamfer.
- Formula: Allows you to reference other dimensions within your part.
- Function: Allows you do calculate a distance using a set function and an input number.
- Reference: Allows you to chamfer an edge up to another pre-existing plane.
- Make Constant: Resets Distance box to allow for manual input.
(For Asymmetric & Offset and Angle) The Reverse Direction button lets you toggle between surfaces.
4. Settings: Leave offset method as the default selection.
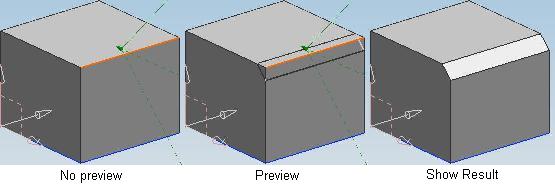
5. Preview: Checking the preview box draws lines on the faces that will be cut.
Clicking Show Result shows what the chamfered edge will look like after the feature is completed.
6. Click Apply to finish one chamfer and add another. OR click Ok to finish the chamfer and exit the chamfer feature.