Download Development Tools
To set up the development environment on your own computer, you'll need copies of the following (all of which are free):
For Windows
Download the GCC compiler WinAVR
Download the programmer avrdude
Latest windows binaries as of 2022 may be avrdude-6.4-mingw32.zip
If you get errors when trying to
make, it may be the msys-1.0.dll file. You may try this link https://www.madwizard.org/electronics/articles/winavrvista
For Mac
Download the latest version of avrdude avrdude.
Alternately try:
brew install make
brew install tio
brew install avrdude
If there are homebrew errors type
$ brew tap--repair
If using an M1 or M2 Mac and you get errors like
avr-gcc: Bad CPU type in executable
you may need to do the following :
brew tap osx-cross/avr
brew install avr-gcc
if that doesn't work try :
brew uninstall --force avr-gcc
arch -arm64 brew install avr-gcc@8
brew link --force avr-gcc@8
Note: The avr-gcc@8 might take about 10min to get installed.
For Linux
Install using apt-get. Type at the command prompt $:
$ sudo apt-get install gcc-avr avrdude binutils-avr avr-libc
Compile sample code template
- Download the Blinky folder
- Open a terminal or shell window. Uncompress the files and change directory to that folder
$ cd Blinky
- List the directory and check that there are two directories (inc and src) and file called
Makefile
$ ls -R
Makefile
./inc:
MEAM_general.h
./src:
main.c
- Compile the code written in main.c by typing at the command prompt:
$ make
- You should see some information about your compiled files and memory usage and the last line should be
[>-----Build Successfully-----<]
Upload your code
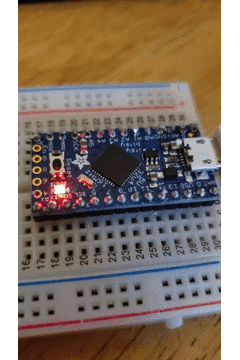
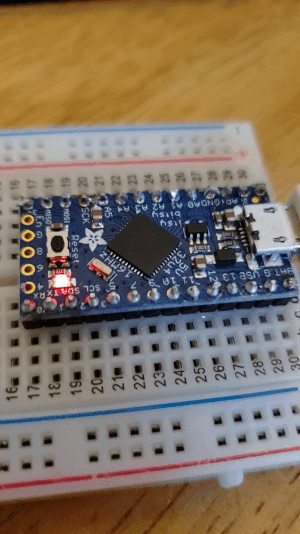
- Connect the microcontroller to a usb port on your computer.
Note breathing is different from blinking.
Bootload active - Breathing.
- Press the button on itsybitsy twice quickly (within about 0.5 seconds) to activate the AVR109 bootloader. The red light should "breath" (glow and fade, not blink). It will do this for 10 seconds only. You have ten seconds to do the next step.
- While the 32u4 is "breathing", find out the name of the USB port it is connected to.
On a Mac and linux the port will be a tty port in the /dev/ directory. You can find this on a Mac by typing
$ ls /dev/cu*usb*
/dev/cu.usbmodem142301
Note that the tty port may be different when in "breathing" mode or running code. Be sure it to look for the tty when in "breathing" mode.
On a Windows machine it will be a COM port that you can find from the Ports (COM & LPT) submenu of the Device Manager.
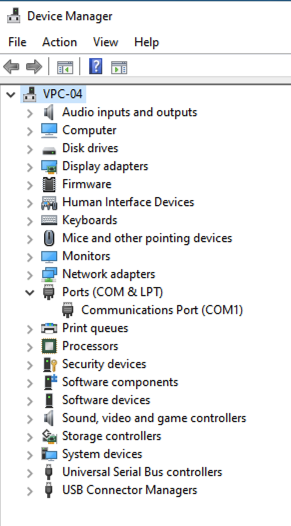
Device Manager in Windows11. It will not be COM1. 32u4 is not shown here.
- For this step we need the bootloader active, but it will likely be more than 10 seconds since you double pressed the button in step 2, so you will need to double press the itsybitsy button again and then type the following before 10 seconds has passed:
$ make flash PORT=YOURPORTNAME
where you replace YOURPORTNAME with the PORT you discovered in step 3. For example
make flash PORT=/dev/cu.usbmodem142301
- You should see a number of messages that indicate that this works with the last line
[>-----ATmega32U4 Loaded-----<]
* If instead, the message says somewhere "failed", check the connection (check the Device Manager or /dev/ directory), and check that the bootloader is active (LED breathing not blinking).
* If the Blinky code is successfully running, you should see the LED blinking 1sec on, 1sec off (not breathing and not the fast 5Hz that new boards start).
Write your own code
- You can copy the whole Blinky folder into another folder that you can rename to your own program. Edit the
src/main.cfile to create whatever you functionality you need. Themakeprogram uses theMakefilewhich looks forsrc/main.c. - Compile your code by typing
makewhile the current directory of your terminal is set to your new folder. - Program the itsybitsy32u4 with the command:
make flash PORT=PORTNAME. You may skip the initial compilingmakestep above, as themake flashstep will both compile and flash the itsybitsy32u4.