Wrapped geometry can be used to see what a packaged (wrapped in paper for example) item might look like, or as a way to connect different cross sections. To create a wrapped geometry, either start from an existing geometry or create a set of cross sections using offset datum planes. To start from an existing geometry, click on the wrapped geometry icon:

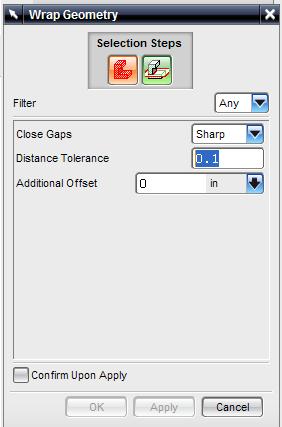
The geometry selection window will appear.
select the "geometry to wrap" icon and select all the features that you want to include in the wrap. click ok twice.
A wrapped geometry can also be created from curves on offset planes. First define a number of offset planes. The planes can be created in reference to an curve in space using the:

option in the datum plane selection window, together with the specified curve. After the planes are created sketch a curve on each plane.
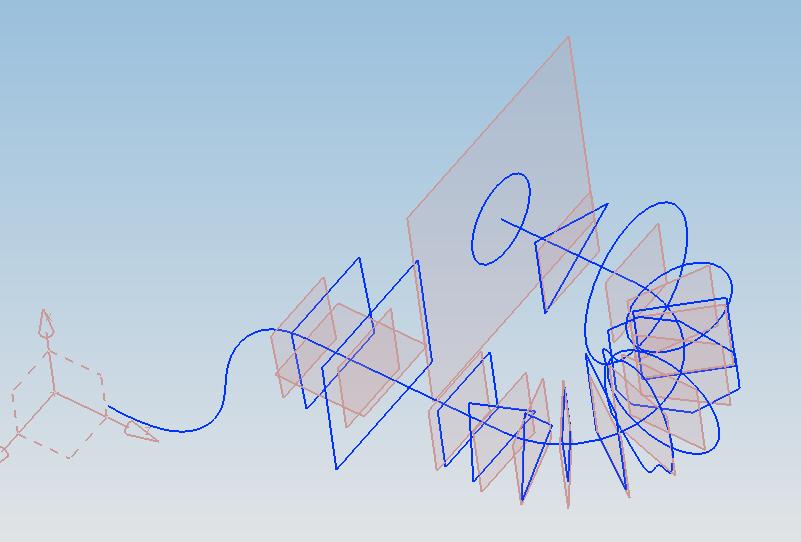
Click the wrapped geometry icon, and repeat the steps from before.
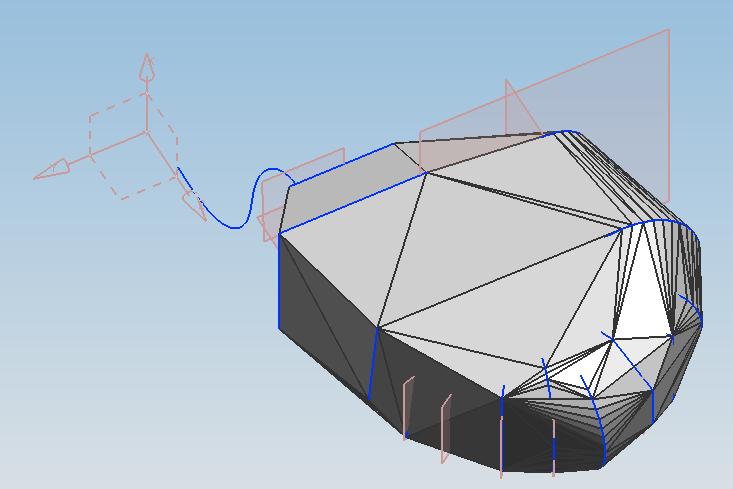
The result is a solid body that looks like this:
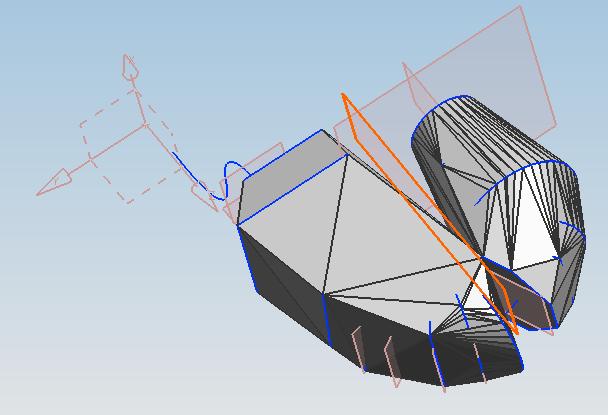
To preserve some of the features of the wrapped geometry create a "splitting plane" that will divide the wrap into two parts, one on each side of the plane. After selecting geometries to wrap, click on the "splitting plane" icon in the wrapped geometry window, Or just click ok and the plane selection window will open automatically.
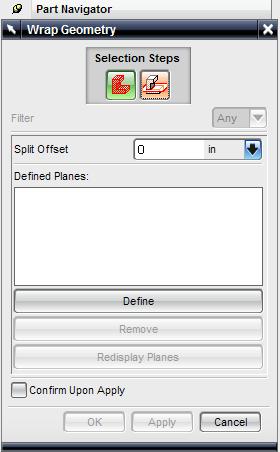
Select one or several splitting planes. Make sure that the splitting planes actually cut through the geometry, otherwise NX will throw an error. If you don't want to add a plane,just click ok again without making any changes. The effects of the splitting plane can be demonstrated with the following example from the previous geometry. The splitting plane is highlighted