The group: Annie Mroz, Cam Nguyen, & Jackie Christenson
Goal: to create a slider puzzle with the Penn crest as the image
Plan: to create a frame with an inlaid track the individual tiles can slide along. Also to inlay each tile with this track to allow them to slide against each other. To do this we will cut four layers for the frame and glue them together. We will also cut three layers for each individual tile and glue them similarly. To create the image we will raster on MDF before cutting the image into tiny squares.
Stage 1: designing the puzzle in Solidworks.

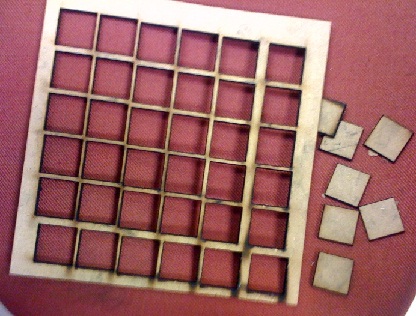
Stage 2: laser cutting the bottom 2 layers of the tiles. The first layer is 1/4" MDF, and is a simple square. The next layer is 1/8" MDF, and is a square with one of its corners cut out.
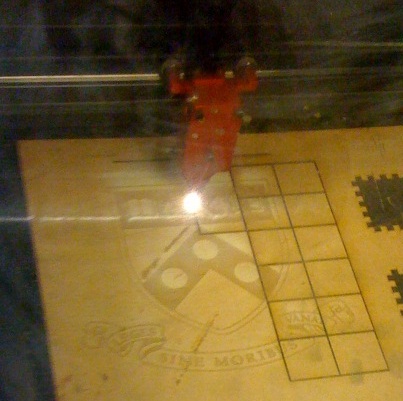
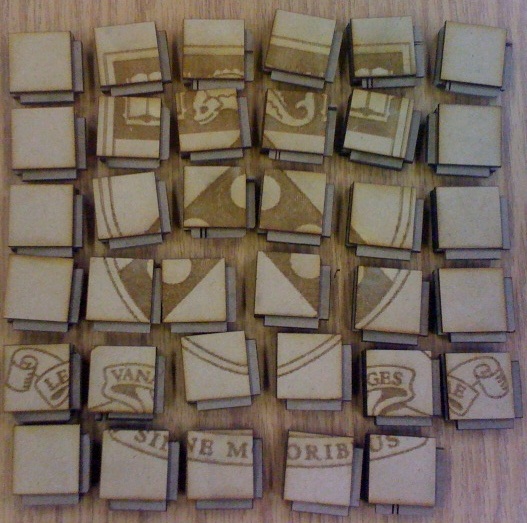
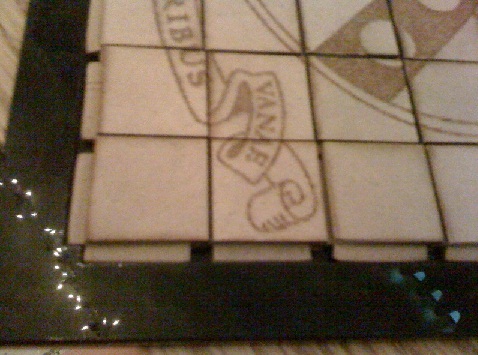
Stage 3: Rastering the image on to the top tile layer. The image is rastered using the laser cutter and then the whole image is cut into a 6 x 6 grid of tiles.
Stage 4: Finalizing the tiles. We glue the second layer to the first layer so that the corner of the first square lines up with the edge of the cut out corner of the second square. We then glue the third layer with the image to the second layer, in line with the first. This causes the second layer to protrude a bit, creating a track the tiles can move along.
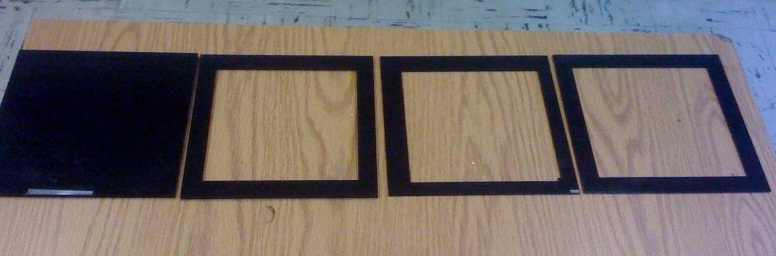
Stage 5: Laser cutting the frame. We cut the first and second layers out of 1/4" black acrylic. The third and fourth layers are both 1/8" black acrylic.
Stage 6: Sanding down the track of the tiles so they glide smoothly

Stage 7: Fitting the tiles into the frame.
Stage 8: Gluing the frame. We glue the frame last because it is impossible to put the pieces in correctly while the frame is glued. This also means that the puzzle cannot be taken apart after the frame is glued, which eliminates the possibility of cheating.
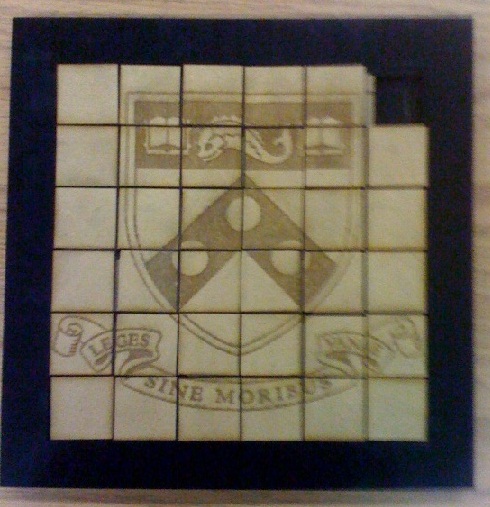
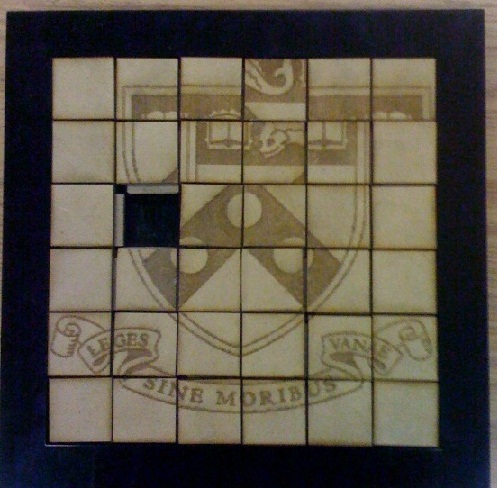
This puzzle took approximately 9 hours to make (most of which was sanding the tiles and waiting for the laser cutter to raster). We are quite happy with the result.