MEAM.Design - MEAM 101 - P3: daVinci
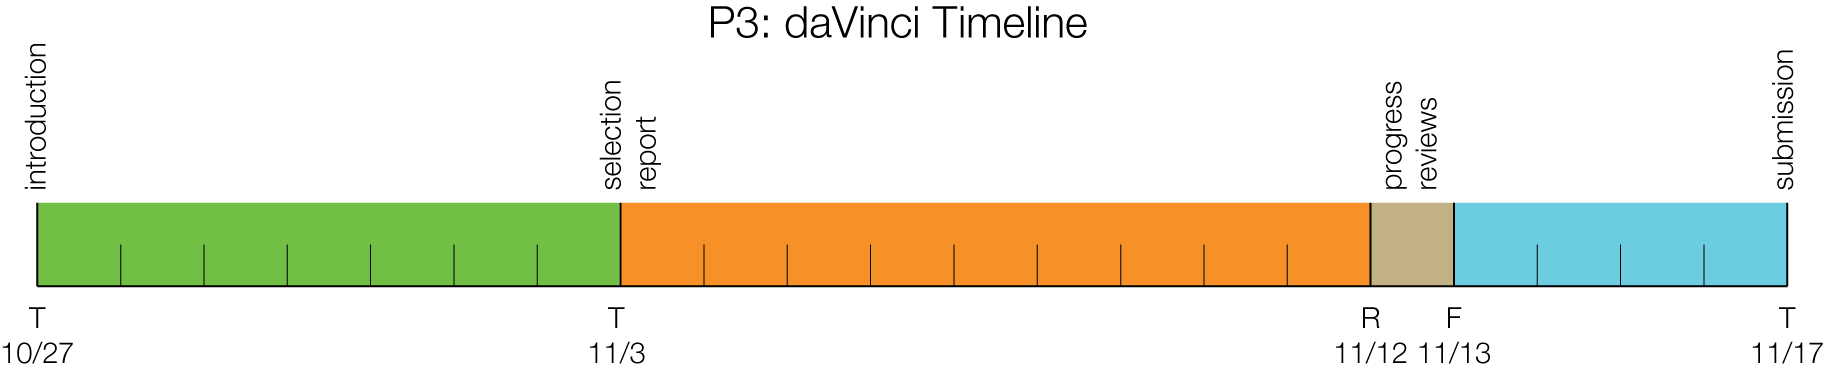
Our third project will begin on Tuesday, October 27th. This is an individual project.
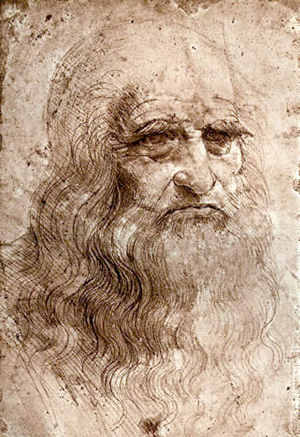
In the coming weeks, we will be translating Leonardo daVinci’s technical drawings into the remarkably effective visual language of three-dimensional computer models. Specifically, you will need to generate a mechanical model in SolidWorks that will enable everyone to understand fully how the machine you’ve selected was designed to work.
Even though transforming the original drawings inherently requires us to alter the original drawings, the process is justified because it enables us to gain a more vivid appreciation of the intricate mechanical processes envisaged by daVinci. The technological metamorphosis, or transfiguration, of one of his original drawings can be seen as an extension of his own method of communicating his ideas.
| Part 1: Machine Selection (due in lecture on 11/3)
In the coming days you will be immersing yourself in daVinci’s folios. In drawing his inventions, Leonardo implemented a series of graphic conventions, including the schematic representation of force lines, transparent and exploded views, plans and overhead views, and simulations of sequences of movement. According to scholars, "he conceived of drawing the machine as an instrument for analyzing the most complex device down to the smallest part, accurately ‘dissecting’ it in order to obtain a representation that showed both its component parts and the composition as a whole.” Set aside some time to carefully study each of the technical drawings on the wiki (as well as others you may find in the library or online). This will not be as easy as it sounds – extracting the critical information from a given drawing can be a daunting task. In looking at these drawings, your goal is to make sense of each machine’s function and have a strong understanding of how it achieves its purpose. Once you are confident that you can accurately decode most of the machines, select a single drawing to be the focus of the rest of your project. You'll need to obtain a digital copy of the image, and note the source from which it was obtained (both the original source, if available, as well as the place where you found it). Using whatever format you'd like, create a brief document containing the following: a) The daVinci image, b) the citation of where you found the image, c) a discussion of why you’ve selected that particular machine and how you envision it working (be as specific as possible), and d) a basic plan for how you intend to model the machine in SolidWorks. Bring a hard-copy of your document to lecture on November 3rd. |
| Part 2: Modeling (due in lab on 11/12-13)
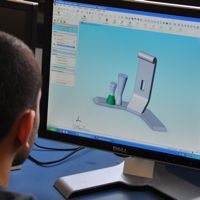
Now that you’ve selected your favorite machine, it’s time to model it in SolidWorks. Leonardo’s drawings are wrought with ambiguity, so it is up to you to make the machine work properly. For example, because most of daVinci’s drawings lack dimensions, you will need to determine an appropriate scale. Keep track of any assumptions you make, as we will be asking you to discuss them in Part 3. Your model need not be overly complex, but it should fully convey how the machine works. One of daVinci’s most famous sayings is that, “Simplicity is the ultimate sophistication.” We will have progress reviews in lab on 11/12 and 11/13 to ensure that everyone has made substantial headway. By this point, your model should be nearly complete. |
| Part 3: Posters & Files (due by 11:59am on 11/17)
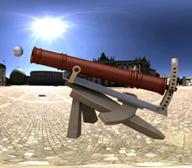
Finally, it’s time to produce some mouthwatering renderings! Using some of the skills from the first project, create an 11 x 17 poster showcasing the work you've done. The poster must include daVinci’s technical drawing along with at least one high-quality PhotoView-360 rendering of your model. Although not a requirement, we strongly encourage you to use a white background for your rendering(s), as this will look best on your poster. Additionally, your poster should briefly explain what the machine is, how it works, any significant assumptions you were required to make during the modeling process and what you have learned about modeling and design from the project. The file for the poster template is attached here. You should use these as basic guidelines for how to setup your poster. You will have to be using a computer with Adobe InDesign CS4 to use these files. The computer lounge on the first floor of Van Pelt has a mac lab. Also, you can download a 30day version Adobe InDesign. You need to create a free account. Here is what should remain consistent in the poster:
We would like to collect digital copies of your poster, best rendering, and SolidWorks files. So, please name your poster file as "P3-Poster-PennKey.PDF" and send it in an email to medesign@seas.upenn.edu titled "P3-Poster-PennKey". Name your favorite rendering as "P3-Rendering-PennKey.JPG" and send it in an email to medesign@seas.upenn.edu titled "P3-Rendering-PennKey". Then pack-and-go your SolidWorks assembly to a zip folder, rename the folder as "P3-Files-PennKey", and send it as an attachment to medesign@seas.upenn.edu with the title "P3-Files-PennKey". We strongly encourage that you submit your posters early for a design critique. Just send your file to medesign@seas.upenn.edu with the subject line P3-Poster-PennKey-Crit. |